How to install a Hot Water Boiler Snow Melting System
March 28, 2024
Installing a Hot Water Boiler Snow Melting System: A Step-by-Step Guide for Homeowners
As a homeowner, dealing with snow and ice buildup on driveways and walkways can be a hassle and a safety hazard. Installing a hot water boiler snow melting system can provide a convenient and effective solution to keep your outdoor surfaces clear during the winter months. In this guide, we'll walk you through the proper steps for installing a hot water boiler snow melting system on your property.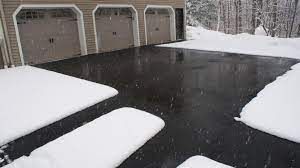
1. Assessing the Property
Before you begin the installation process, take some time to assess your property and determine the best locations for installing the snow melting system. Identify areas where snow and ice accumulation pose the greatest risk, such as driveways, walkways, and entrance paths. Measure the size of these areas to determine the capacity and size of the system you'll need.2. Selecting the Right Equipment
Selecting the right equipment is crucial for the success of your snow melting system. Choose a boiler that is appropriately sized to meet the heating demands of your property. Additionally, select high-quality tubing and controls that are designed to withstand the rigors of outdoor use and provide reliable operation in cold weather conditions.3. Planning the Installation Process
Once you have chosen your equipment, it's time to plan the installation process. Create a layout design that outlines the placement of tubing and components on your property. Consider factors such as the slope of the terrain and the location of existing utilities to ensure optimal performance and efficiency. Determine the installation method that best suits your property, whether it's embedded in concrete or installed beneath pavers.4. Professional Assistance
While some homeowners may choose to install a snow melting system themselves, it's often best to seek professional assistance. Hire a licensed contractor with experience installing hot water boiler snow melting systems. They can help you navigate the installation process, obtain necessary permits, and ensure that the system is installed correctly and safely.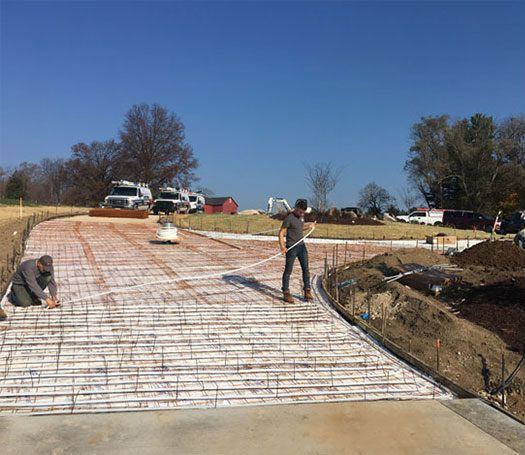
5. Installation Process
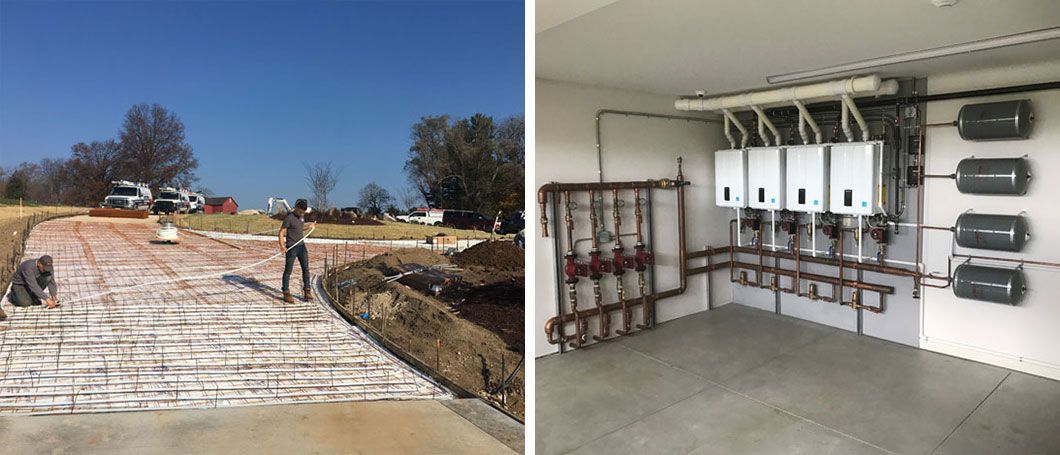
Once you've enlisted the help of a professional, the installation process can begin. The first step is to prepare the site by clearing away any debris and ensuring that the area is level. Next, the tubing and components will be installed according to the layout design. The tubing is typically embedded in concrete or placed beneath the surface of the outdoor area to be heated. Finally, the system is connected to the boiler and tested for proper operation. 6. Testing and Commissioning
After the installation is complete, the system will need to be tested and commissioned to ensure that it is functioning correctly. This involves checking for leaks in the tubing and connections and adjusting settings as needed to achieve the desired heating levels. Once the system has been fully tested and commissioned, you can begin enjoying the benefits of a snow-free outdoor space.7. Maintenance and Care
To ensure the long-term performance and reliability of your snow melting system, it's essential to perform regular maintenance and care. Schedule annual inspections to check for any signs of damage or wear and tear and clean the tubing and components as needed. Additionally, be sure to winterize the system properly before the onset of cold weather to prevent freezing and damage.
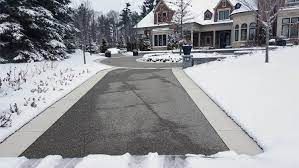
Installing a hot water boiler snow melting system can provide homeowners with a convenient and effective solution for keeping outdoor surfaces clear of snow and ice during the winter months. By following the proper steps outlined in this guide and enlisting the help of a professional contractor, you can enjoy a safer and more enjoyable outdoor environment year-round.

When your air conditioner or heat pump starts losing efficiency, blowing warm air, or making strange hissing noises, a refrigerant leak might be the hidden culprit. At Eagle Air Heating and Cooling in Plainfield, IL, we specialize in advanced refrigerant leak detection and repair services that restore your HVAC system’s performance and keep your home comfortable year-round. In this article, we’ll explore the importance of refrigerant leak detection, the signs and risks of leaks, our expert diagnostic methods, and why Eagle Air is the trusted HVAC contractor for homeowners and businesses across the Plainfield area.
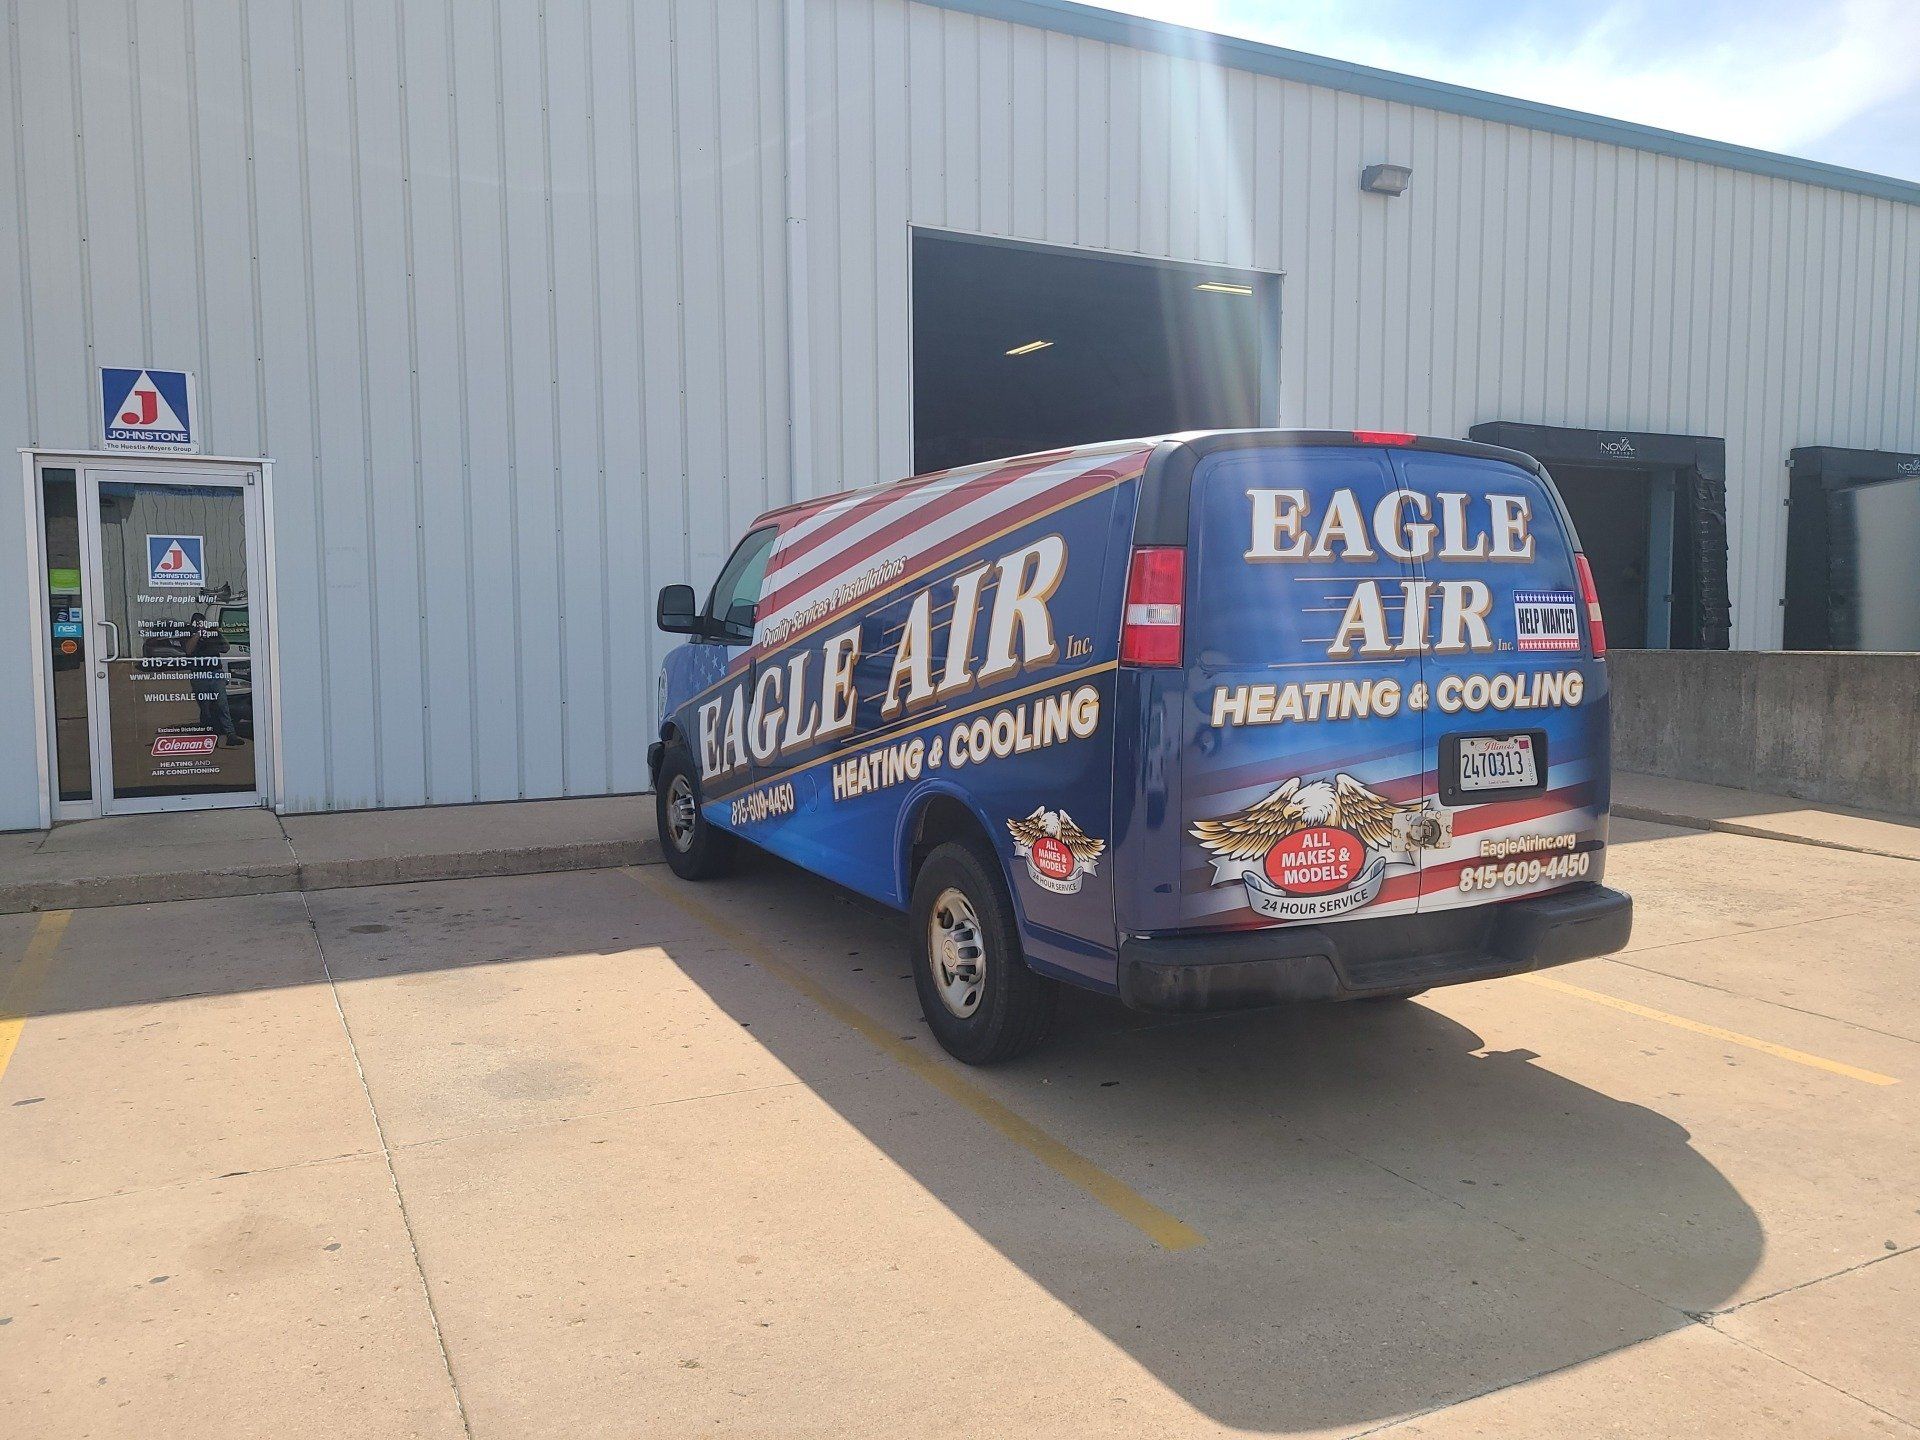
Eagle Air Inc. Heating and Cooling Plainfield reviews 5 Star Review Anthony did an outstanding job! He showed up on time, explained clearly what the issue was, and repaired my furnace quickly. I highly recommend it Eagle Air Heating & Cooling! Eagle Air Inc. Heating and Cooling 16149 S Lincoln Hwy Unit 103 Plainfield IL 60586
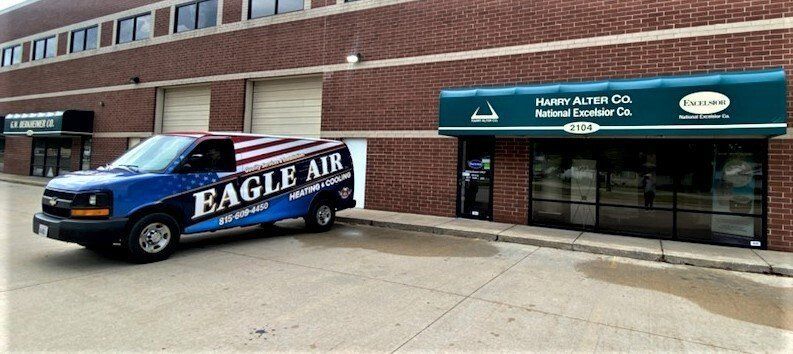
The importance of an air conditioning system in a residential cannot be overstated. An unpleasantly warm or cold working environment is detrimental to customer experience and employee productivity. Even the smallest problem can put your home on hold. That's why you should consider hiring a residential air conditioning repair expert In IL as soon as you notice a problem. Fortunately, it's easy to find someone who can solve all your air-conditioning needs in the Plainfield IL area.

